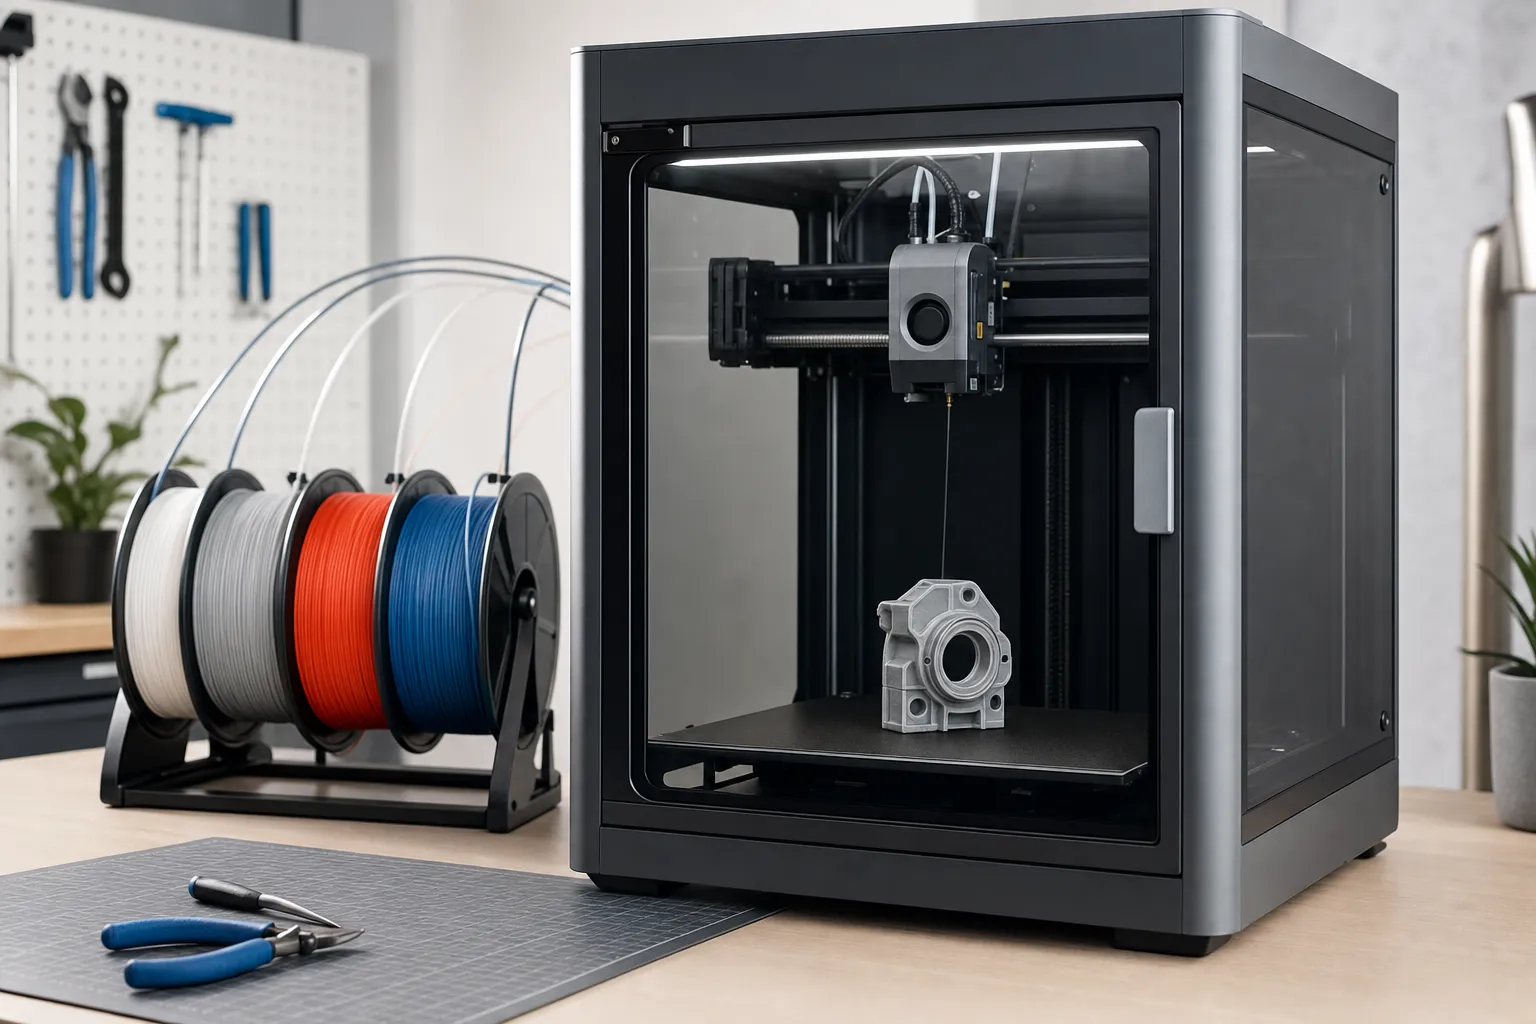
3D Printing Stringing Fix: Complete Guide to Retraction Settings
Stringing is one of the most common print quality problems in FDM 3D printing. You see it as thin plastic webs stretched between parts of your print, leaving a messy surface that takes time to clean up. In most cases, the cause is filament oozing from the nozzle during travel moves, and the fix comes down to getting your retraction settings right.
This guide walks through what causes stringing, how to tune retraction distance and speed for your specific extruder type, which slicer settings matter most, and when the problem is actually hardware-related rather than a settings issue. Whether you are running a Bowden-tube Ender 3 or a direct-drive Bambu Lab, you will find actionable steps here.
What Is Stringing and Why Does It Happen?
Stringing occurs when molten filament leaks from the nozzle while the print head moves between two points without extruding. Gravity and nozzle pressure push a thin strand of plastic out, and that strand stretches across gaps, overhangs, and unsupported areas of your print.
The result is a spider-web pattern of plastic strings connecting features that should be clean and separate. Stringing is most visible on prints with multiple islands, towers, or gaps between sections, such as calibration cubes, articulated models, and multi-part prints.
Main Causes of Stringing
- Insufficient retraction: The extruder does not pull enough filament back, leaving pressure in the melt zone.
- High nozzle temperature: Excess heat makes the filament more runny, increasing ooze.
- Bowden tube slack: Play between the tube and the fitting absorbs retraction motion instead of pulling filament back.
- Worn or loose extruder hardware: A slipping gear or cracked arm reduces actual retraction effectiveness.
- Moisture in filament: Wet filament boils and expands in the hotend, pushing plastic out even during travel moves.
- Excessive nozzle pressure: High flow or large layer heights can leave residual pressure that oozes after a print move ends.
Most stringing problems are fixable through a combination of retraction tuning, temperature adjustment, and slicer configuration. Let us start with the single most important setting.
Understanding Retraction Settings
Retraction tells your extruder to pull filament back by a set distance before the print head travels to a new position. This relieves pressure in the hotend, reducing or eliminating the amount of plastic that leaks during the non-printing move.
Two main parameters control retraction:
- Retraction Distance: How far the filament is pulled back, measured in millimeters. Too little and pressure remains. Too much and you get under-extrusion, filament grinding, or jams.
- Retraction Speed: How fast the filament is pulled back. Faster retraction can be more effective at cutting off flow, but too fast can cause skipped steps or filament stripping.
There is also deretraction speed (sometimes called “extra restart distance” or “unretract extra length”), which controls how the filament is pushed back. Some printers benefit from a slightly slower deretraction to avoid blobs at the restart point.
Bowden vs Direct Drive: Why It Matters
Your extruder type determines the starting point for retraction tuning. The filament path between the drive gear and the nozzle is very different in each system.
Bowden extruders push filament through a long PTFE tube before it reaches the hotend. That tube introduces compliance: when the extruder pulls back, some of the retraction distance is wasted compressing the tube or overcoming friction. Bowden printers typically need 4 to 7 mm of retraction distance.
Direct drive extruders sit directly on the print head, with the drive gear just above the hotend. The filament path is short and stiff, so retraction is more efficient. Direct drive printers usually need only 0.4 to 2.0 mm of retraction.
If you apply Bowden retraction settings to a direct drive printer, you risk pulling filament all the way out of the melt zone, causing jams. If you apply direct drive settings to a Bowden printer, you will likely still see stringing.
Recommended Starting Retraction Settings by Printer
| Printer / Extruder Type | Retraction Distance | Retraction Speed | Notes |
|---|---|---|---|
| Creality Ender 3 (stock Bowden) | 5.0 – 6.5 mm | 40 – 60 mm/s | Upgrade to Capricorn tube for better results |
| Creality Ender 3 (direct drive mod) | 0.8 – 1.5 mm | 30 – 50 mm/s | Significant stringing improvement over Bowden |
| Creality Ender 3 V3 SE/KE | 0.6 – 1.2 mm | 40 – 60 mm/s | Direct drive, shorter retraction needed |
| Bambu Lab A1 / P1 / X1 | 0.4 – 0.8 mm | Default (auto-tuned) | Bambu Studio handles this; adjust only if stringing persists |
| Prusa MK4 / MK3S+ | 0.8 – 1.5 mm | 35 – 55 mm/s | PrusaSlicer defaults are solid starting points |
| Anycubic Kobra 2 | 0.6 – 1.5 mm | 40 – 60 mm/s | Direct drive; avoid Bowden-level retraction distances |
| Elegoo Neptune 4 Pro | 0.6 – 1.5 mm | 40 – 60 mm/s | Klipper-based; also tune pressure advance |
| Generic Bowden printer | 4.0 – 7.0 mm | 35 – 60 mm/s | Check for tube slack before increasing distance |
These are starting points. Every printer and filament combination is slightly different, so the next step is calibrating for your specific setup.
How to Calibrate Retraction with a Test Print
The most reliable way to find your optimal retraction settings is to print a retraction test model and incrementally adjust until stringing disappears without introducing other artifacts.
Step-by-Step Calibration Process
- Download a retraction test model. A popular choice is the “3D Printing Stringing Test” by Chep on Thingiverse or Printables, which features two towers connected by travel moves. The “ABC” retraction test is also widely used.
- Set your starting retraction distance. Use the recommended value from the table above for your printer type.
- Use your slicer’s retraction tower feature. Both Cura and PrusaSlicer offer built-in retraction tests that change retraction distance at each layer. This prints a single model that tests multiple values at once.
- Print at your normal temperature and speed. Do not change other variables during the test. You want to isolate retraction.
- Inspect the results. Look for the layer height where stringing stops. That retraction distance is your starting point.
- Re-run if needed. Fine-tune in 0.2 to 0.5 mm increments around the best value to find the exact sweet spot.
Watch for signs of excessive retraction: under-extrusion at the start of print moves, a clicking extruder, or filament grinding. If you see these, reduce the distance slightly.
Slicer Settings That Reduce Stringing
Retraction is the primary tool, but several other slicer settings contribute to clean travel moves and reduced stringing.
Temperature
Running your hotend 5 to 10 degrees cooler can significantly reduce ooze. PLA at 190 to 200 degrees often strings less than at 210 degrees. PETG is more sensitive; try reducing from 240 to 230 degrees. Always balance temperature against layer adhesion and extrusion quality.
Travel Speed
Faster travel moves give filament less time to ooze between print areas. Increasing travel speed from 150 to 250 mm/s (where your printer can handle it) reduces the window for stringing. Klipper-based printers with high acceleration benefit especially from faster travel.
Combing Mode
Combing keeps the nozzle within already-printed areas during travel moves, so any ooze lands on infill or top surfaces rather than stretching across open air. In Cura, set combing to “Within Infill” or “All” for stringing-prone models. In PrusaSlicer, enable “Wipe while retracting” for a similar effect.
Coasting
Coasting turns off extrusion slightly before the end of a print segment, using residual nozzle pressure to finish the line. This reduces pressure in the melt zone at the exact moment retraction kicks in. Start with 0.2 to 0.4 mm of coasting distance in Cura. Too much coasting causes gaps in perimeters.
Wipe While Retracting
This setting moves the nozzle inward slightly during retraction, snapping off the filament strand. Available in PrusaSlicer and Orca Slicer. Effective for direct drive printers and usually worth enabling.
Z-Hop
Z-hop lifts the nozzle during travel moves to avoid scraping the print surface. While useful for preventing collisions, Z-hop can actually increase stringing because it creates a vertical pull on the filament. If you have persistent stringing, try disabling Z-hop or setting it to 0.2 mm or less.
Pressure Advance (Klipper) / Linear Advance (Marlin)
If your printer runs Klipper or a Marlin build with Linear Advance enabled, tuning pressure advance reduces nozzle pressure at the end of print moves, which directly reduces stringing. This is one of the most effective tools on Klipper printers like the Elegoo Neptune 4 Pro or any custom Klipper build. Run the standard pressure advance test pattern and dial in the value for your filament.
Hardware Fixes for Persistent Stringing
If you have tuned retraction, temperature, and slicer settings and still see stringing, the problem is likely mechanical. Here are the most common hardware causes and fixes.
Bowden Tube Fitting Issues
Loose PTFE tube fittings are the number one hardware cause of stringing on Bowden printers. When the tube has any play inside the fitting, retraction motion is absorbed by the tube sliding instead of pulling filament back. Check both ends of the tube: the extruder side and the hotend side.
Fix: Push the tube firmly into the fitting while tightening the collar. Replace worn pneumatic couplers. For a more permanent fix, use a threaded Bowden coupling or clips that prevent tube movement.
Check PTFE tube clips and fittings on Amazon
Extruder Gear Wear or Slipping
A worn drive gear or loose tension arm on the extruder can cause inconsistent retraction. The extruder motor turns, but the filament does not move the full distance. This is common on printers with plastic extruder arms that crack over time, such as older Ender 3 models.
Fix: Inspect the extruder arm for cracks. Check that the drive gear bites into the filament firmly. Replace the extruder with a metal upgrade if needed.
Check metal extruder upgrades on Amazon
Hotend Partial Clogs
A partial clog in the heat break or nozzle increases back-pressure, causing more ooze during travel. The printer may still extrude during normal printing, but retraction cannot fully relieve the pressure.
Fix: Perform a cold pull with nylon or cleaning filament. If that does not resolve it, remove the nozzle and clean the heat break. Consider replacing the nozzle if it is worn or damaged.
Check cleaning filament and cold pull tools on Amazon
Moisture in Filament
Hygroscopic filaments like PETG, nylon, and TPU absorb moisture from the air. When heated, the water boils and creates bubbles that push filament out of the nozzle unpredictably. This looks exactly like stringing but will not respond to retraction changes.
Fix: Dry your filament before printing. A filament dryer or a food dehydrator set to the appropriate temperature works well. Store filament in airtight containers with desiccant packs when not in use.
Check filament dryers on Amazon
Direct Drive Conversion
If you are running a Bowden printer and struggling with stringing despite tuning everything, a direct drive conversion is the most impactful hardware upgrade you can make. Direct drive eliminates the long filament path, reduces retraction distance by 5x or more, and dramatically improves stringing performance.
Popular direct drive options include the Micro Swiss Direct Drive Extruder for Creality printers and the Trianglelab Titania for a budget-friendly alternative. Some printers also support printed direct drive mounts that reuse the stock extruder motor.
Check direct drive extruder kits on Amazon
Quick Troubleshooting Checklist
If your prints are stringing, work through this list in order:
- Confirm retraction is enabled in your slicer (it sometimes gets disabled by accident).
- Set retraction distance to the correct range for your extruder type (see table above).
- Reduce hotend temperature by 5 degrees and test again.
- Increase travel speed if your printer supports it.
- Enable combing or “wipe while retracting” in your slicer.
- Check Bowden tube fittings for play (if applicable).
- Inspect extruder gear and arm for wear or damage.
- Dry your filament.
- Try a different filament brand or batch (some filaments string more than others).
- Run a retraction calibration test to fine-tune the exact distance.
Product Recommendations
These products can help you diagnose and fix stringing issues on most FDM printers.
| Product | Category | Best For |
|---|---|---|
| Capricorn PTFE Tubing | Bowden Upgrade | Tighter tolerances reduce tube slack and improve retraction consistency |
| Metal Extruder Upgrade Kit | Extruder Replacement | Replaces plastic arms that crack and cause retraction inconsistency |
| SUNLU Filament Dryer Box | Filament Storage | Drying and storing hygroscopic filaments like PETG and TPU |
| Micro Swiss Direct Drive Kit | Extruder Conversion | Converting Bowden Creality printers to direct drive for better retraction |
| Nozzle Cleaning Kit | Maintenance | Clearing partial clogs that cause ooze and inconsistent retraction |
Check Capricorn PTFE tubing on Amazon
Check metal extruder upgrade kits on Amazon
Check SUNLU filament dryer boxes on Amazon
Check Micro Swiss direct drive kits on Amazon
Check nozzle cleaning kits on Amazon
FAQ
What is the best retraction distance for a Bowden printer?
Most Bowden printers work best between 4.0 and 7.0 mm of retraction distance. Start at 5.0 mm and adjust in 0.5 mm increments based on a retraction test print. If you have upgraded to Capricorn tubing, you may find success at the lower end of that range.
What is the best retraction distance for a direct drive printer?
Direct drive printers typically need only 0.4 to 2.0 mm of retraction. Start at 1.0 mm and tune from there. Going above 2.5 mm on direct drive is almost always excessive and can cause filament grinding or jams.
Can retraction distance be too high?
Yes. Excessive retraction pulls filament too far out of the melt zone, causing under-extrusion at the start of print moves. It can also grind the filament, strip it, or cause jams in the heat break. If you see gaps or thin extrusion at the start of each segment, reduce retraction.
Does PETG string more than PLA?
Yes, PETG generally strings more than PLA because it is printed at higher temperatures and is more prone to oozing. PETG also tends to be more hygroscopic, meaning moisture can add to the stringing problem. Dry your PETG and consider reducing temperature by 5 to 10 degrees from the middle of the recommended range.
Should I enable Z-hop when dealing with stringing?
Usually no. Z-hop can make stringing worse because it lifts the nozzle vertically while filament is still oozing, stretching the strand upward. Disable Z-hop or set it to a very small value (0.2 mm or less) when stringing is your main concern.
Does retraction speed matter?
Yes, but only up to a point. Faster retraction (40 to 60 mm/s) cuts off the filament flow more decisively, which helps with stringing. Going too fast (above 60 to 70 mm/s) can cause the extruder to skip steps or grind filament, especially on Bowden setups with higher gear ratios.
My stringing goes away at lower temperatures but layer adhesion suffers. What should I do?
This is a common tradeoff. Try finding the lowest temperature where layer adhesion is still acceptable, then add small amounts of retraction distance or enable coasting and wipe settings to handle remaining stringing. Pressure advance (Klipper) or Linear Advance (Marlin) can also help reduce ooze without lowering temperature.
Conclusion
Fixing stringing is usually a matter of dialing in the right retraction distance for your extruder type, running a calibration test to find the sweet spot, and supporting that with proper temperature, travel speed, and combing settings. On Bowden printers, check your tube fittings before spending hours on settings changes. On direct drive printers, keep retraction short and focus on temperature and wipe settings.
If software tuning does not resolve the issue, look at hardware: a loose Bowden tube, cracked extruder arm, partial nozzle clog, or wet filament can all mimic a retraction problem. Addressing the root cause will save you time compared to endlessly tweaking slicer values.
For most printers, the combination of correct retraction distance, a slightly lower temperature, and enabled combing or wipe settings will eliminate stringing on the majority of filaments. Start there, test methodically, and you should see clean results within one or two calibration prints.
Related Reading
Disclosure: This article contains affiliate links to Amazon. If you purchase through these links, we may earn a commission at no additional cost to you.